NEXMON 툴
라즈베리4B를 이용했으며,
https://github.com/seemoo-lab/nexmon_csi
위의 NEXMON 툴을 이용했다.
GitHub - seemoo-lab/nexmon: The C-based Firmware Patching Framework for Broadcom/Cypress WiFi Chips that enables Monitor Mode, F
The C-based Firmware Patching Framework for Broadcom/Cypress WiFi Chips that enables Monitor Mode, Frame Injection and much more - seemoo-lab/nexmon
github.com
라즈베리파이 OS
https://downloads.raspberrypi.org/raspios_full_armhf/images/raspios_full_armhf-2022-01-28/
Index of /raspios_full_armhf/images/raspios_full_armhf-2022-01-28
downloads.raspberrypi.org
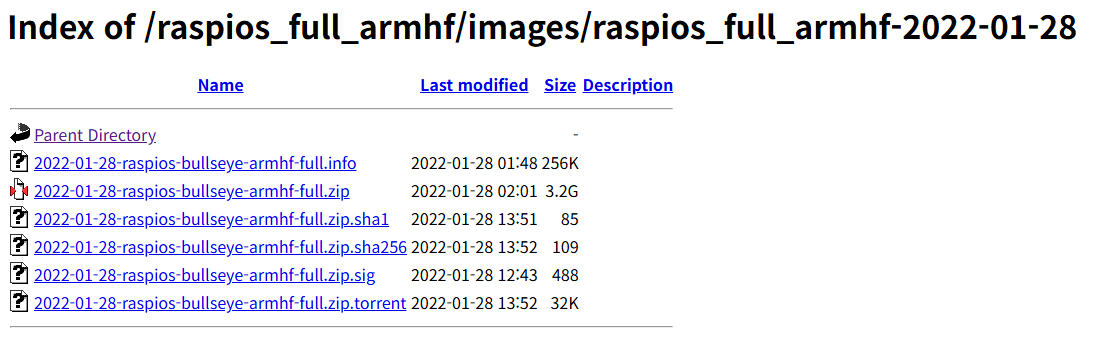
라즈베리 파이의 OS는 위의 링크에서 받아서 설치 해주었다.
상위 경로에 GUI가 없는 light 버전도 있으니 GUI 필요없으면 그걸로 하면 됨
커널드라이버 변경
공식 문서에는 4.19, 5.4, 5.10 에서 실행가능 하다 되어있는데, 최신 라즈베리4B를 기준으로 4.19, 5.4는 설치가 불가능 했다.
그래서 5.10 으로 진행을 해야할 것 같았는데 아래의 글을 발견했다.

나는 다른 방법으로 설치했는데 위에처럼 설치해도 될 듯 하다(?)
https://github.com/Hexxeh/rpi-firmware/compare/master...raspberrypi:rpi-firmware:master
GitHub - Hexxeh/rpi-firmware: Firmware files for the Raspberry Pi
Firmware files for the Raspberry Pi. Contribute to Hexxeh/rpi-firmware development by creating an account on GitHub.
github.com

내가 설치한 방법이다.
5.10.92 를 복사해서 sudo rpi-update <붙여넣기> 하면 된다.
sudo rpi-update <복붙>
sudo reboot
버전확인
설치 후 uname -r 을 통해 아래와 같이 나오면 성공이다.

Nexmon 설치
커널드라이버 변경을 완료하면 이제 드디어 Nexmon을 설치할 수 있다.
https://github.com/nexmonster/nexmon_csi/tree/pi-5.10.92#getting-started
GitHub - nexmonster/nexmon_csi: Channel State Information for Raspberry Pi. Use the pi-5.10.92 branch.
Channel State Information for Raspberry Pi. Use the pi-5.10.92 branch. - nexmonster/nexmon_csi
github.com
1. 라즈베리파이를 실행 시키고, sudo raspi-config를 입력 후, Time zone을 설정해준뒤, 명령어를 실행해준다.
curl -fsSL https://raw.githubusercontent.com/nexmonster/nexmon_csi_bin/main/install.sh | sudo bash완료되면 설치가 끝났다.
사용법
Usage 섹션에 나와 있는 그대로 진행하면 된다.
mcp -C 1 -N 1 -c 36/80
나는 처음에 무지성으로 그냥 따라했는데 간략하게 명령어를 설명해주면 아래와 같다.
mcp: 추출대상을 지정하기 위한 base64로 인코딩된 파라미터 생성
-C, -N: 라즈베리파이4B에서 사용한다면 따로 건들 필요가 없다.
36/80: 80MHz의 대역폭 채널 36에서 CSI를 수집하겠다는 뜻이다.
이렇게 명령어를 입력해주면
KuABEQAAAAAAAAAAAAAAAAAAAAAAAAAAAAAAAAAAAAAAAA==이렇게 출력이 나올 것이고, 추출 대상이 지정된 것이다.
추출 대상을 지정해 주고나면 아래와 같이 명령어를 입력하면 된다.
ifconfig wlan0 up
nexutil -Iwlan0 -s500 -b -l34 -vKuABEQAAAAAAAAAAAAAAAAAAAAAAAAAAAAAAAAAAAAAAAA==
iw dev wlan0 interface add mon0 type monitor
ip link set mon0 up
이제 설정이 끝났다.
아래와 같이 입력하면 1000개의 샘플이 추출되는 것을 볼 수 있다.
tcpdump -i wlan0 dst port 5500 -vv -w output.pcap -c 1000
나처럼 삽질하는 사람이 없길 바라며 다음엔 이걸로 뭘했는지 적어보겠음
끗
'.study > embedded' 카테고리의 다른 글
| [임베디드 플젝] - 2 (0) | 2024.11.19 |
|---|---|
| [임베디드 플젝] - 1 (0) | 2024.11.18 |

